We join our heroes (Saul Feyblade, Toin Deepwater the Dwarf, Fingers Wilde and Lazarus Longshanks the Wizard) the day after their previous escapades with Urklasch's boys and the terrible Ihmissusi.

Our heroes are taking the infamous Blackwold Road and head ever deeper into the mysterious forest in search of adventure and fortune. After defeating some Orc bandits and escaping the clutches of a terrifying, giant, wolf-like monster they journey on under the eaves of the Blackwold Forest. As they approach a large clearing the group is alerted by the sounds of chanting and weapons clashing against shields up ahead. The brave adventurers circle away from the road, through the forest, and come upon a field of battle.

The Well of Madness. Set in a huge clearing in the Blackwold Forest the Well of Madness is a sinister pool of dark, stagnant water that gives vivid dreams and sometimes enhanced strength or powers to those who stop and drink. If they survive. The peaceful nearby village of Cleggs Ham has come under threat by a large warband that has recently set up camp close to the well. The folk of Cleggs Ham have decided enough is enough and have mustered the militia to evict the unsavoury mob.

The battle-lines form up with the village militia to the west...

...and the thugs and bullies of 'Ragnir's Raiders' to the east.

The men of Cleggs Ham are led into the fray by Mayor Cleggson. His bodyguard attend him closely, especially his faithful hound 'Gellert'.

Anchoring Mayor Cleggsons left flank is the 2nd Militia, they are armed with bows and light armour.

The Mayor and his bodyguard are to the immediate right of the 3rd Militia, on the Mayor's right are a roving band of Bretonnian mercenaries. Armed with shields, light armour and halberds, they have been lured to the villagers aid with the promise of coin (the untrustworthy beggars).
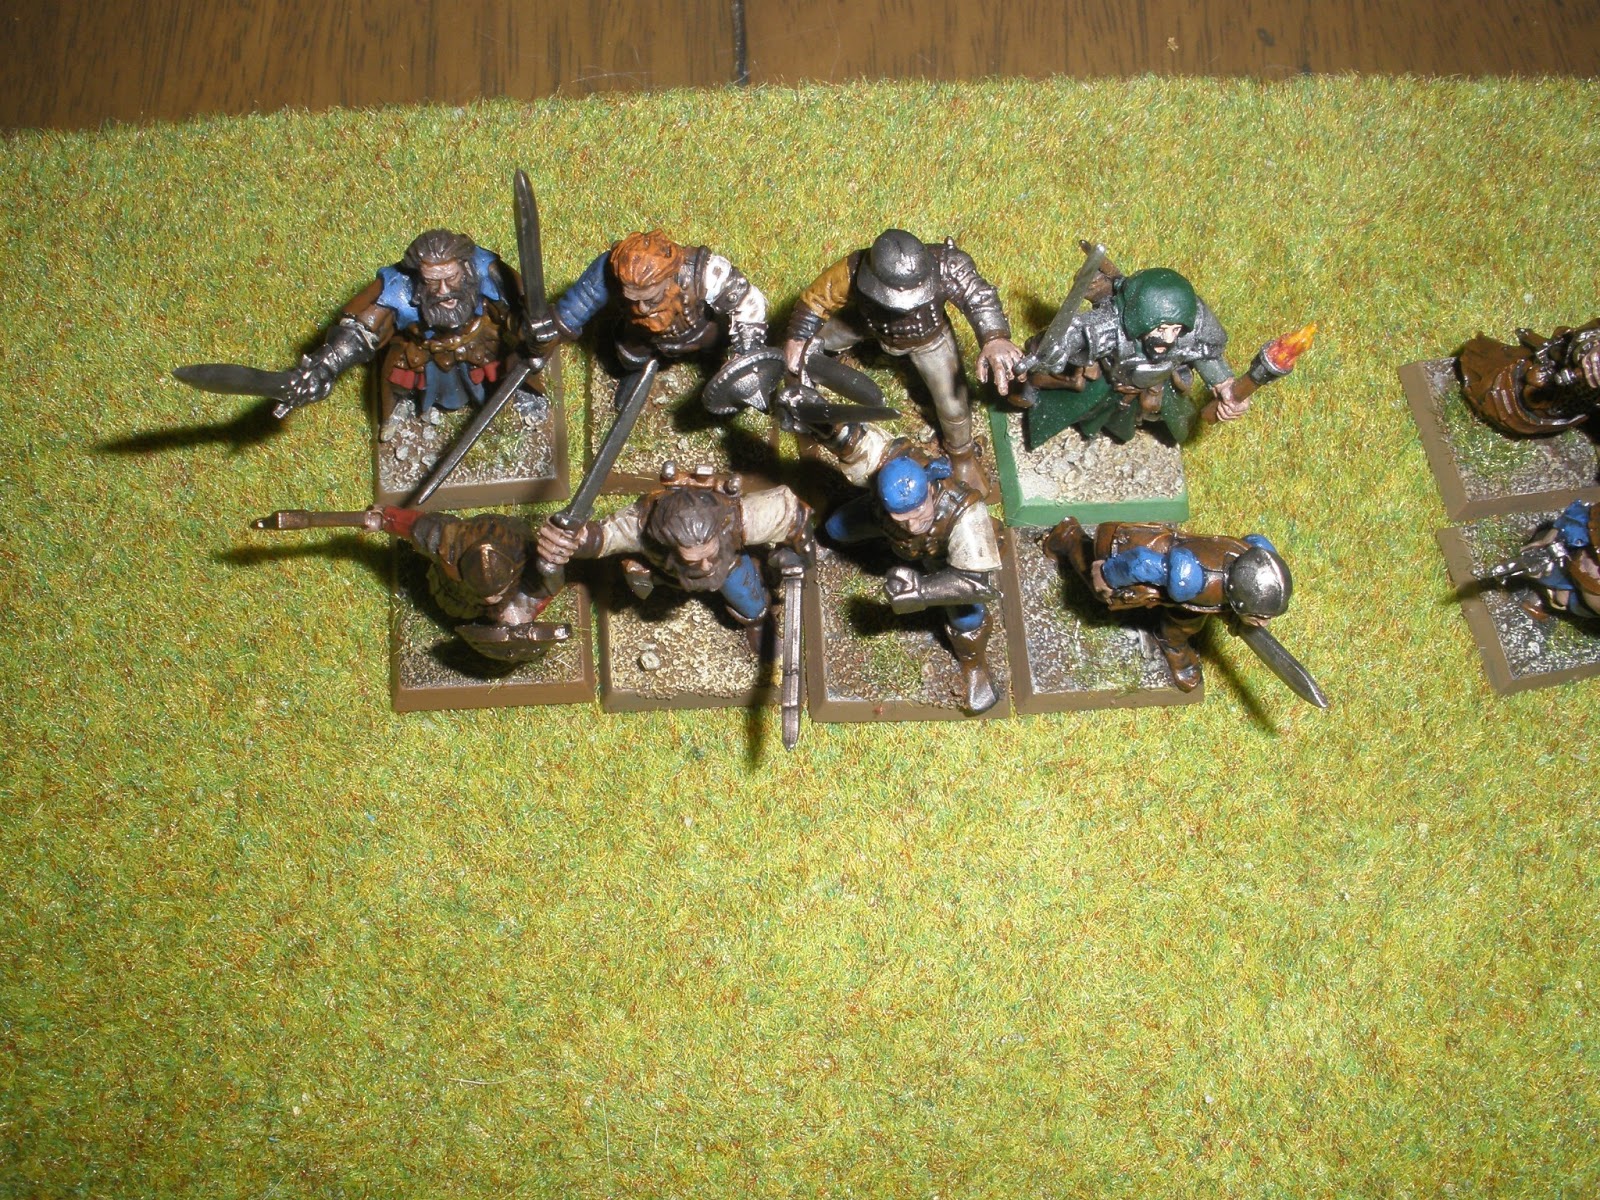
Securing the right flank is the 1st Militia, they are armed with additional hand weapons and light armour.

Ragnir the Fated, leader of the rag-tag warband of thieves and murderers that threatens Cleggs Ham.

Deployed with Ragnir in the centre are his favourite troops, Bork's Blackshields. Bork the Orc is a vicious and black-hearted Orc champion, drawn to follow Ragnir after being seduced by visions of plunder and booty brought on by a prolonged drinking session with the charismatic chaos worshipper. The Black shields have light armour and , unsurprisingly, shields.

Holding Ragnir's right flank to the right of the Blackshields is Devlin's Darksouls. As wretched a bunch of oathbreakers and treacherous snakes you will never find in one place. The Darksouls have light armour and additional hand weapons.

To the left of the Blackshields are Grunk's Hunters, ten Orc archers with bows. They are Ragnir's scouts until he lures some cavalry to his cause.

Holding the left flank are the Red Hand, a savage herd of Beastmen with hand weapon and shields. They carry Ragnir's personal skull totem into battle as they were the first of his followers to recognise his dark glory.

In the reserve line, behind the Red Hand, are Life-Hater and Corpse-Eater, two Minotaurs.

The heroes arrive on the extreme left of Mayor Cleggson's battle-line and choose to aid the men of Cleggs Ham against Ragnir the Fated.
Ragnir rolls for the first turn (eventually, after one of those farcical sequences which sees both players keep rolling the same number over and over) so join us for Part Two to find out what happens next.
No comments:
Post a Comment